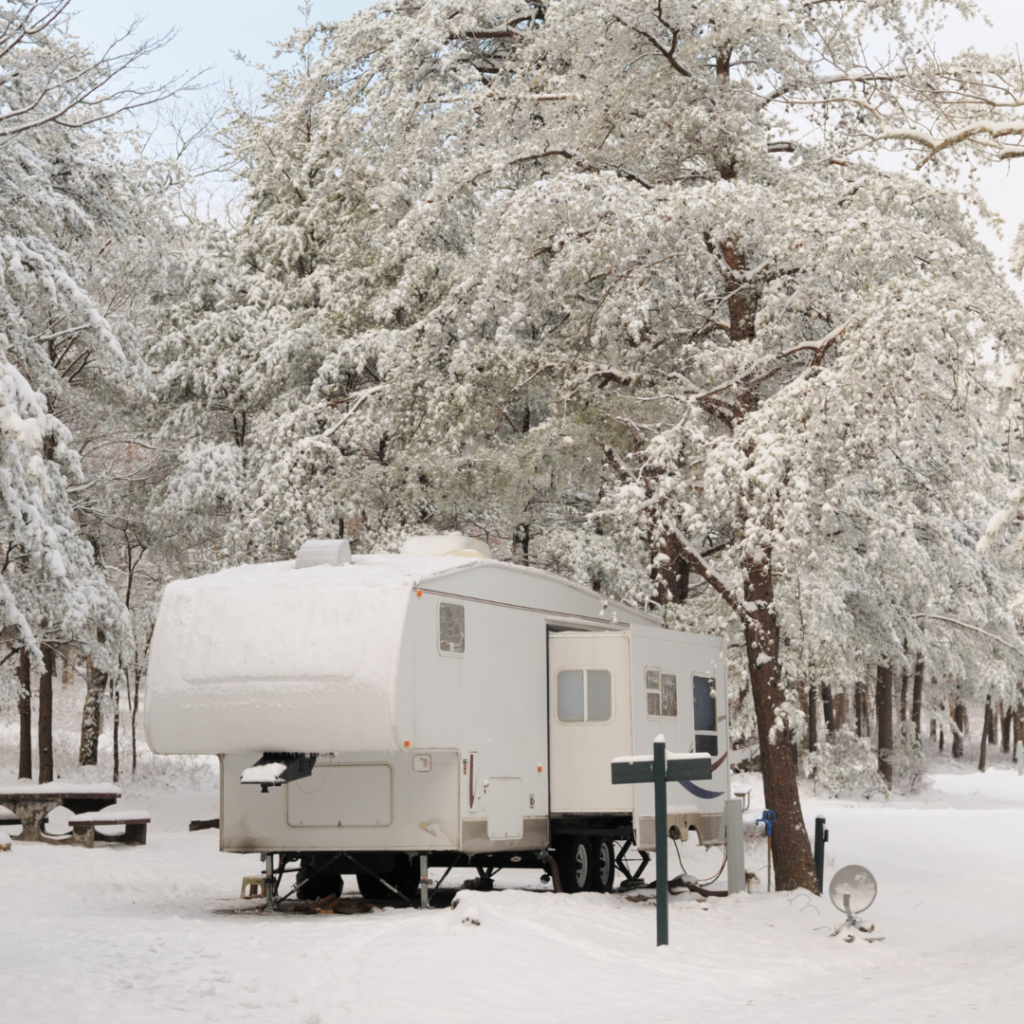
5 Steps for Winterizing Your Camper
Another camping season has come and gone and the snow will be here before you know it. Cold weather can do a number on your camper so it’s important to winterize it before the temperatures begin to drop. With our five-step checklist, you’ll quickly have your camper tucked in for winter and ready to rock ‘n roll when spring hits.

Why is Winterizing Important?
Winterizing your camper is the process of getting ready for the freezing temperatures and snowy weather that come with winter. It is an essential part of maintaining a functioning camper and ensures that the plumbing, electrical and propane systems stay safe through winter. A cracked or busted water pump, electrical lines or trailer cause major headaches and stress, not to mention they’re extremely expensive to repair. So skip the worry and winterize your camping rig!
Supplies You’ll Need
Winterizing is straightforward but you’ll need a few tools to help you get the job done.
- Owner’s manual
- Basic hand tools
- Cleaning solutions (Clorox, Windex, etc.)
- RV antifreeze (2-3 jugs)
- Cleaning wand
- Rags
- Buckets (various sizes)
- Air compressor
Winterizing Your Camper: Five-Step Checklist:
Remember every camper is a little bit different, so it’s important to consult the owner’s manual before starting the winterization process. Also, some campers may have added components, like a washing machine or dishwasher, which may require additional steps to winterize.
Step 1: Clean and Inspect
Before locking up your camper for the season it’s a good idea to deep clean the inside and outside of the camper. Clean out all food, even non-perishable items, remove all bedding and extra clothing and disinfect all surfaces of the camper. Leave cabinet doors open and put a towel in the refrigerator door to allow for air circulation. You’ll also want to inspect the entire camper for any issues.
Step 2: Disconnect Batteries
Even though you have all the lights turned off and the water pump off, your batteries can still get drained over the long winter months, so it’s crucial to disconnect your camper’s battery. Check for the disconnect switch to shut off the power or you can simply unhook the cables from your batteries for storage. And remember if your camper is stored somewhere where temperatures frequently drop below 0°F, you will want to remove the batteries and store them inside.
Step 3: Drain and Clean
Your final dump day, hurray! Be thorough as you go through this final dump and make sure to remove all the water from the system. Clean and empty black and gray water holding tanks, as well as the freshwater tank. If your camper doesn’t have a tank flushing system you can use a cleaning wand. Next, you will need to drain the water heater and the water lines. Open all water faucets, flush toilets, and open the toilet valve. With these lines open, the remaining water should drain out of your water system. Once the water has fully drained out you can close the lines and values, turn off all faucets and make sure that drains are recapped.
Step 4: Protect the Pipes
You have two options to prevent the pipes from freezing. Option 1 – you can use an air compressor to blow all the water out of your system or option 2 – pump antifreeze into the pipes to replace the water.
*BE ADVISED: Make sure to read the owner’s manual and follow the recommended steps for your exact camper and take note of any special uses.
Step 5: Store Your Camper Properly
Winter weather can cause a lot of damage to your camper. If possible store your camper in a covered area to help protect it from snow and ice. If you store your camper outside over winter make sure to use a travel trailer, tire and tongue jack covers to give it extra protection against the elements. You will also want to make sure your trailer is slightly off-level front to back and/or side to side to allow water/ice/snow to flow off the sides. This will help prevent ice and snow from caving in or causing damage to the roof.
Now you’re ready for the snow and ice with your fully winterized camping rig! Before you know it spring will be here and it will be time to de-winterize and get back to camping in the great Northwoods of Wisconsin!
